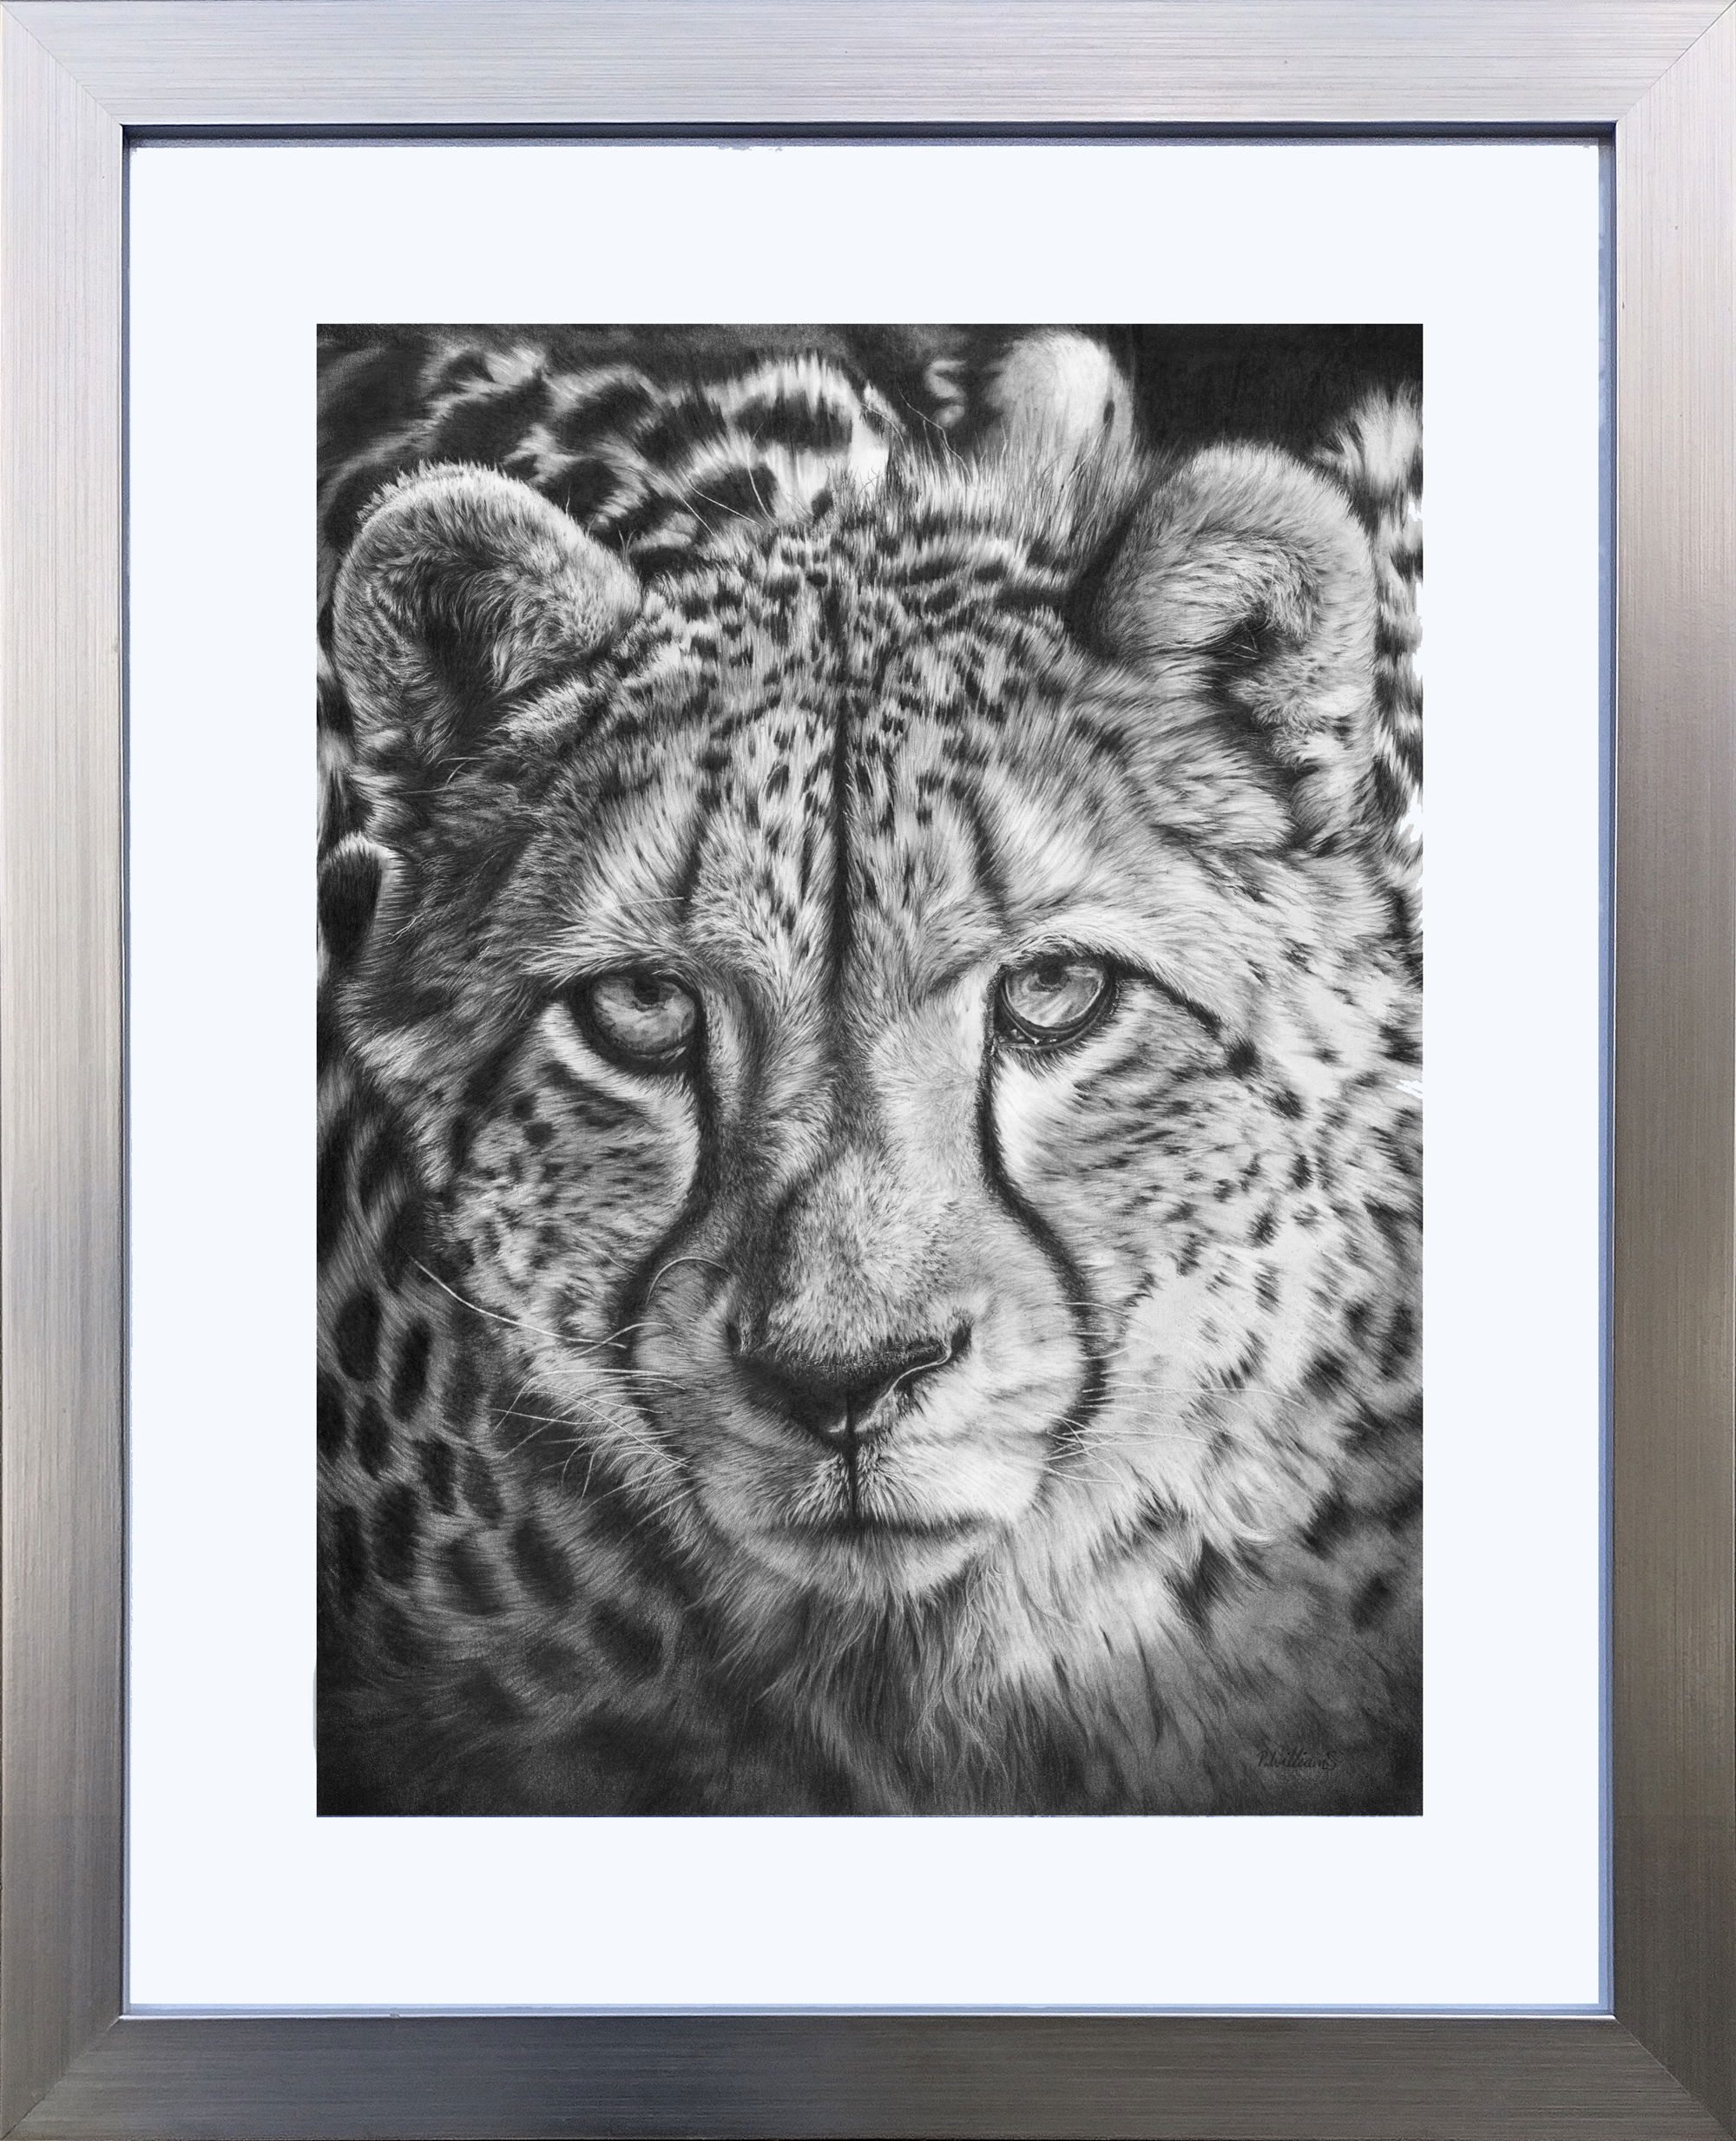
Cheetah Face Off
A pencil drawing completed on 16th November 2021
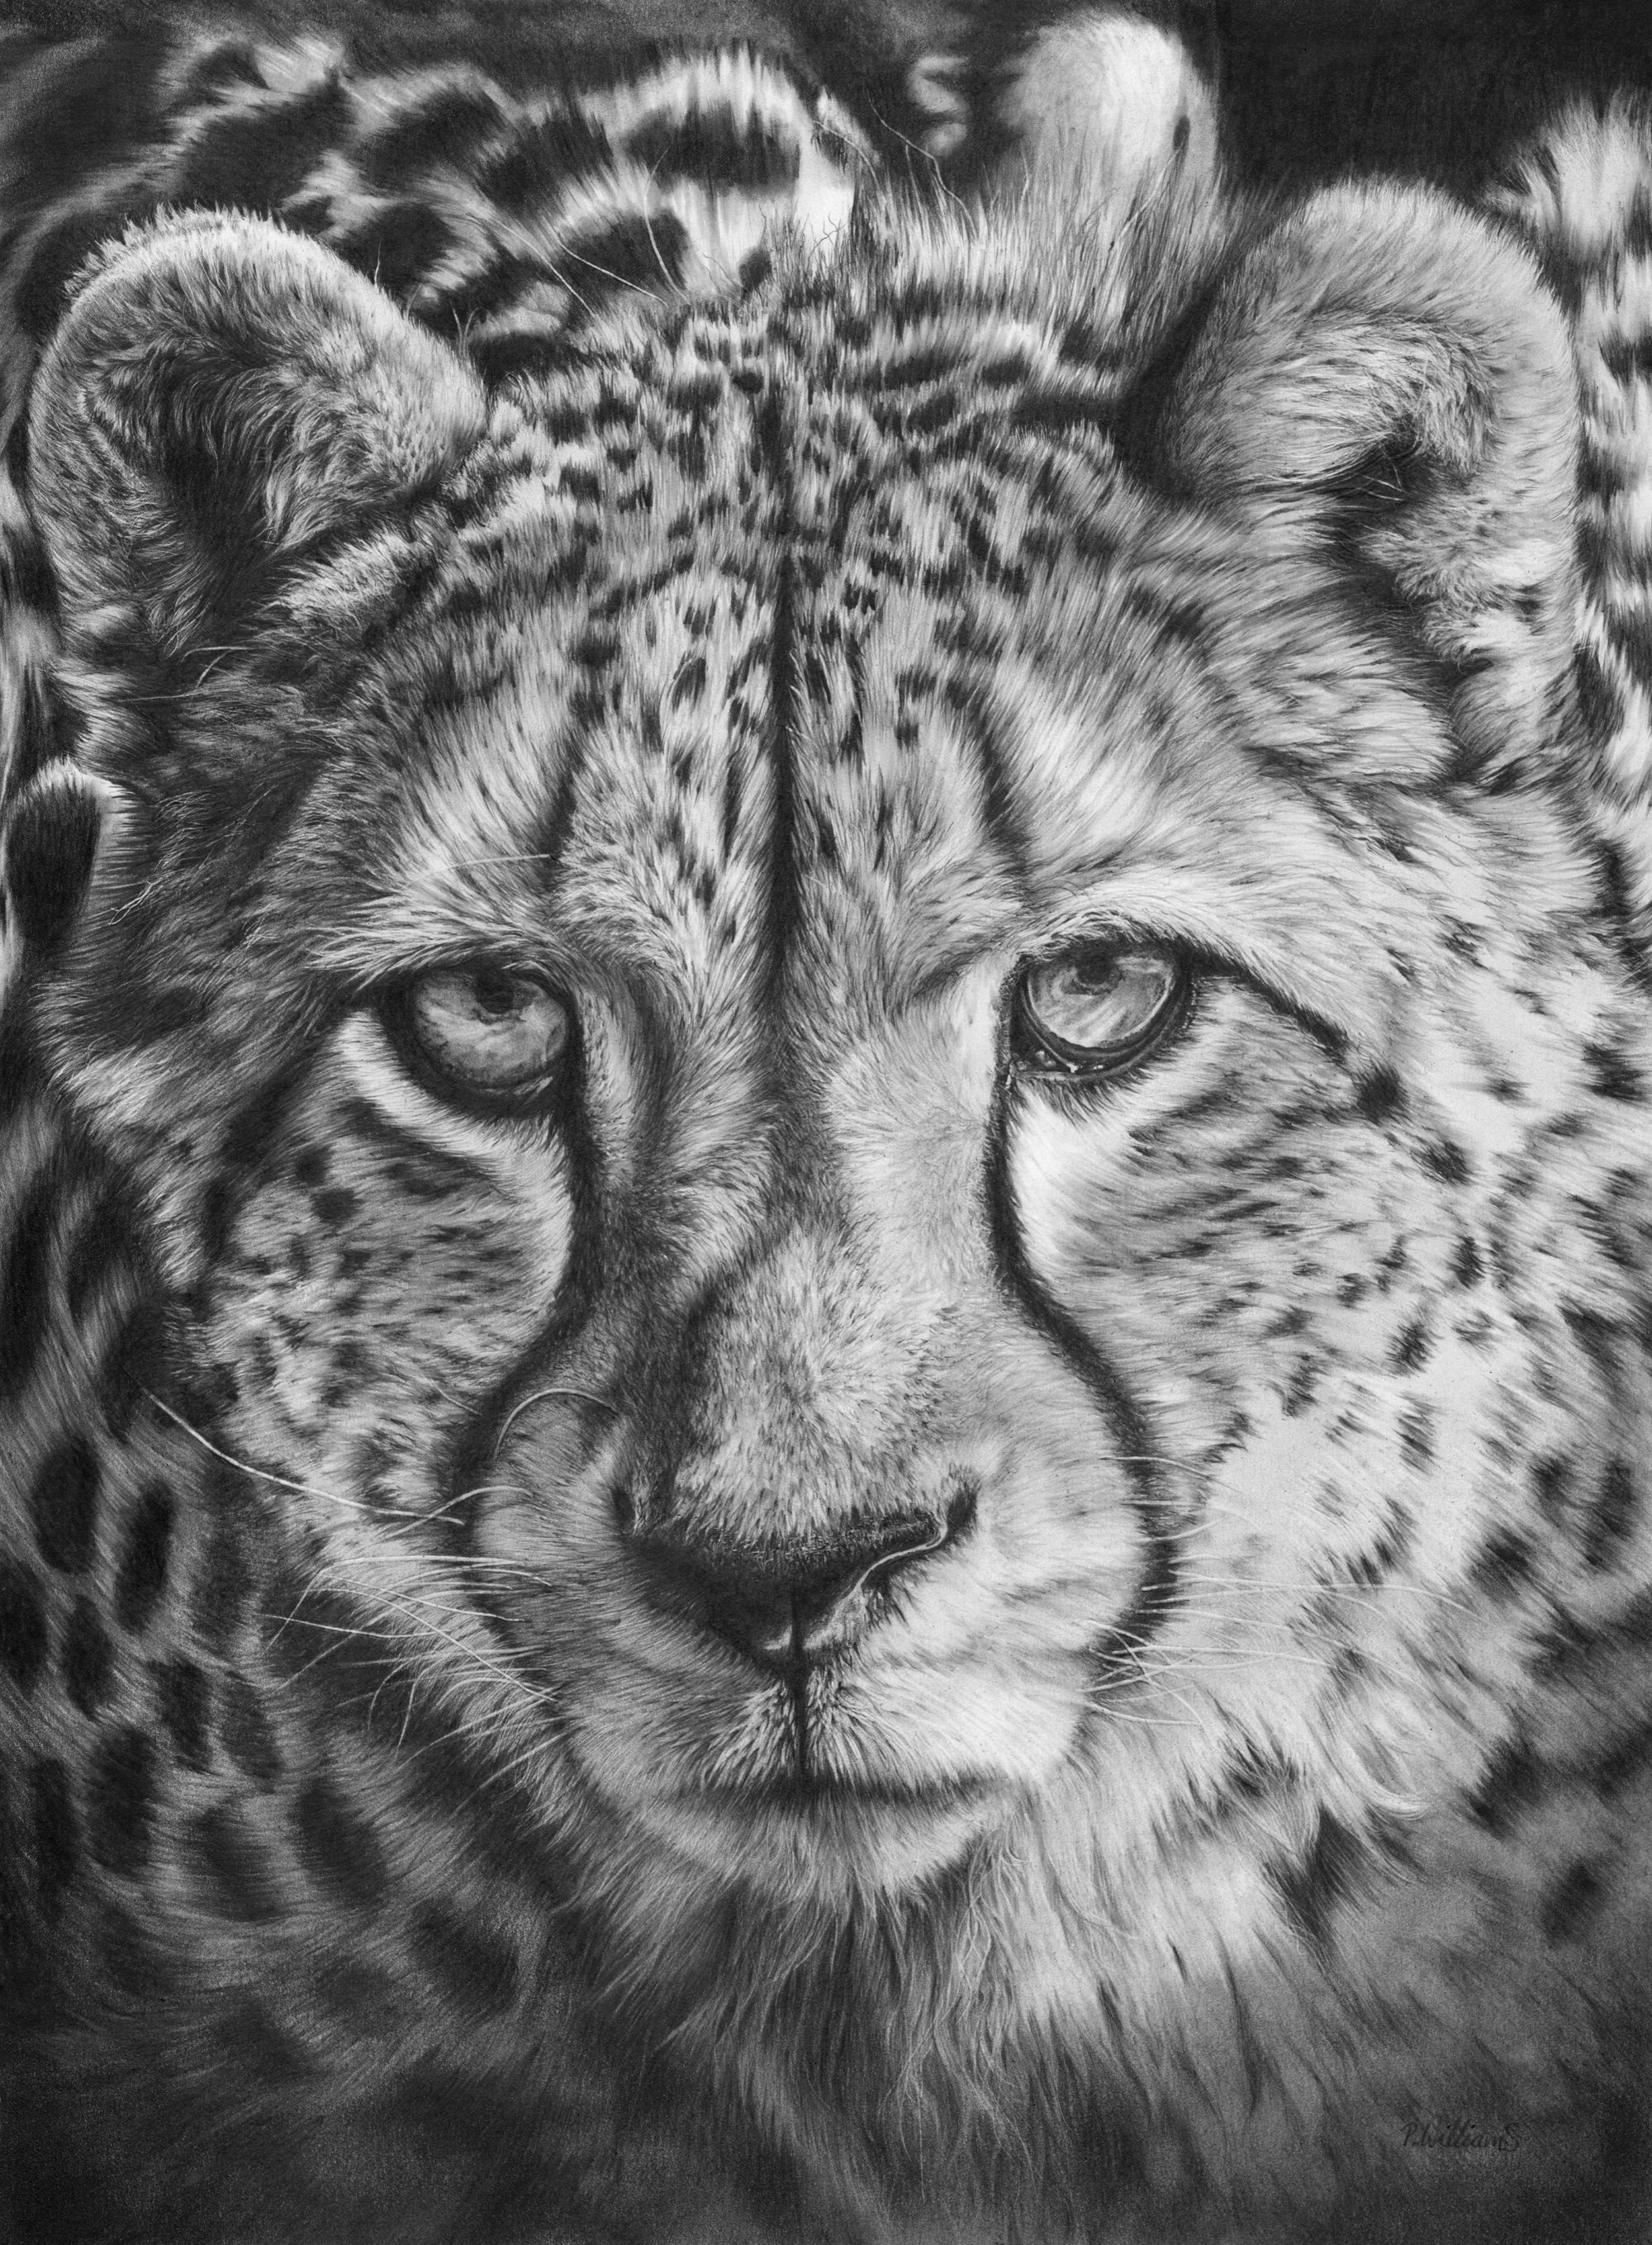
For this drawing I've used an A3 sized sheet of Bristol board. I planned a realistic and highly detailed portrait, so by using this brilliant white and perfectly smooth paper I can achieve the highest level of realism within my capabilities.
Cheetahs are my favourite of the big cats, not always giving the impression of extreme aggression, but emitting an aura of power and incredible athleticism, unlike any other.
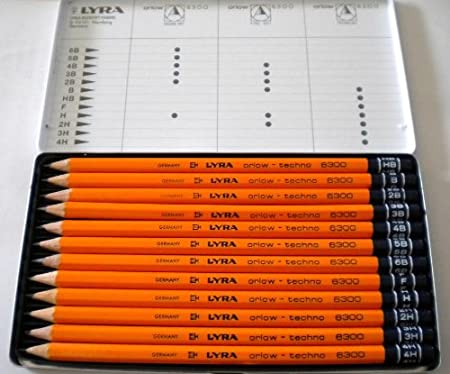
As well as my mechanical pencils 2B 4B HB, as usual I've also opened a full set of Lyra pencils ranging from 4H to 12B. I've tried many brands of pencils over the years, some of which were very expensive but I always seem to return to my Lyra sets which are relatively cheap. I find they give rich tones and are beautifully smooth to use, without any graininess (is that a word?) They are easy to sharpen and hold a good point. Everything I need.
I began by picking a reference photo from my extensive collection, largely sourced from websites such as Unsplash and Pixabay where you can choose from millions of royalty free images. I look for photos with a high level of detail, good lighting and most importantly, an interesting and attractive composition. At the end of the day I'm hoping that my drawing will hang proudly on one of my customer's walls, so it needs to be eye-catching and beautiful.
In this case I wanted a straight on, full face portrait that looked ready to walk right out of its frame, enticing the viewer to come closer to study the detail.
Next, using a soft and fairly blunt pencil, I sketched a rough outline of the entire composition. I go very gently as a lot of these initial marks will be erased and I have no wish to indent the delicate surface of the paper.
Being right handed, I generally work from top to bottom and left to right, which gives a lesser possibility of smudging as I progress down the paper. I tend to mentally map out an area of the drawing which I hope to finish in a particular session and get started.
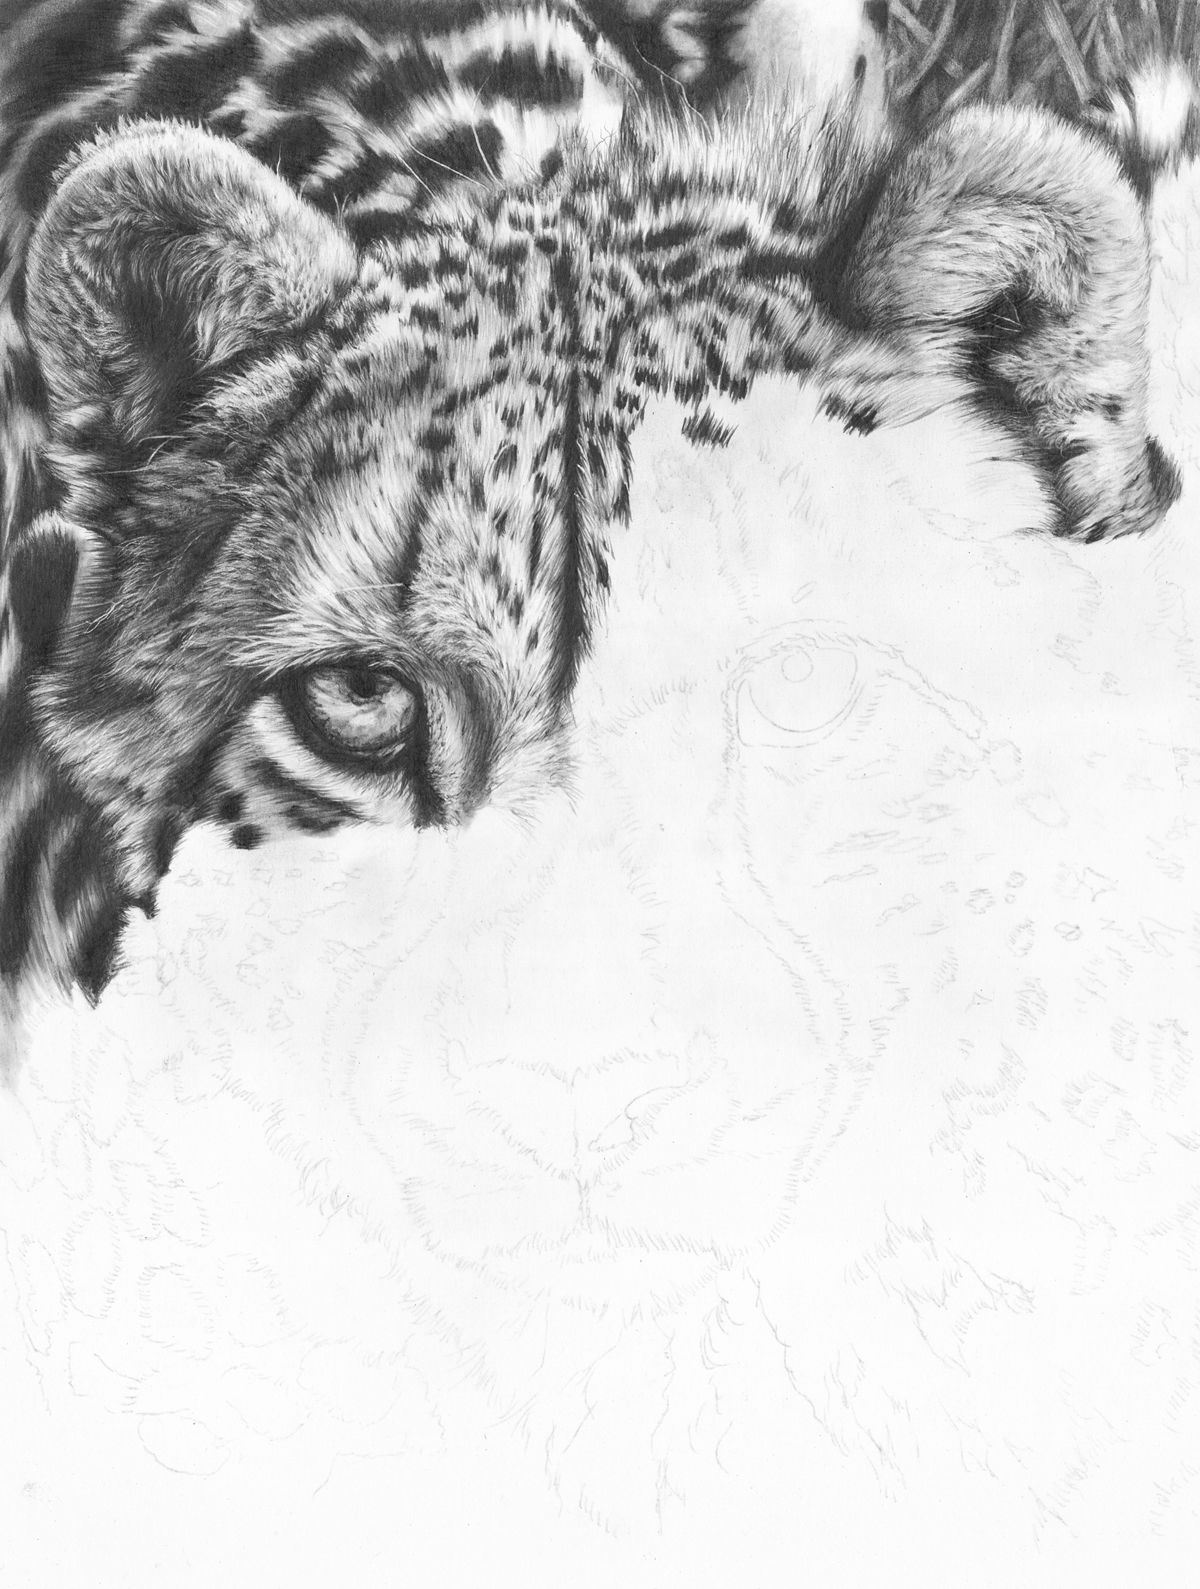
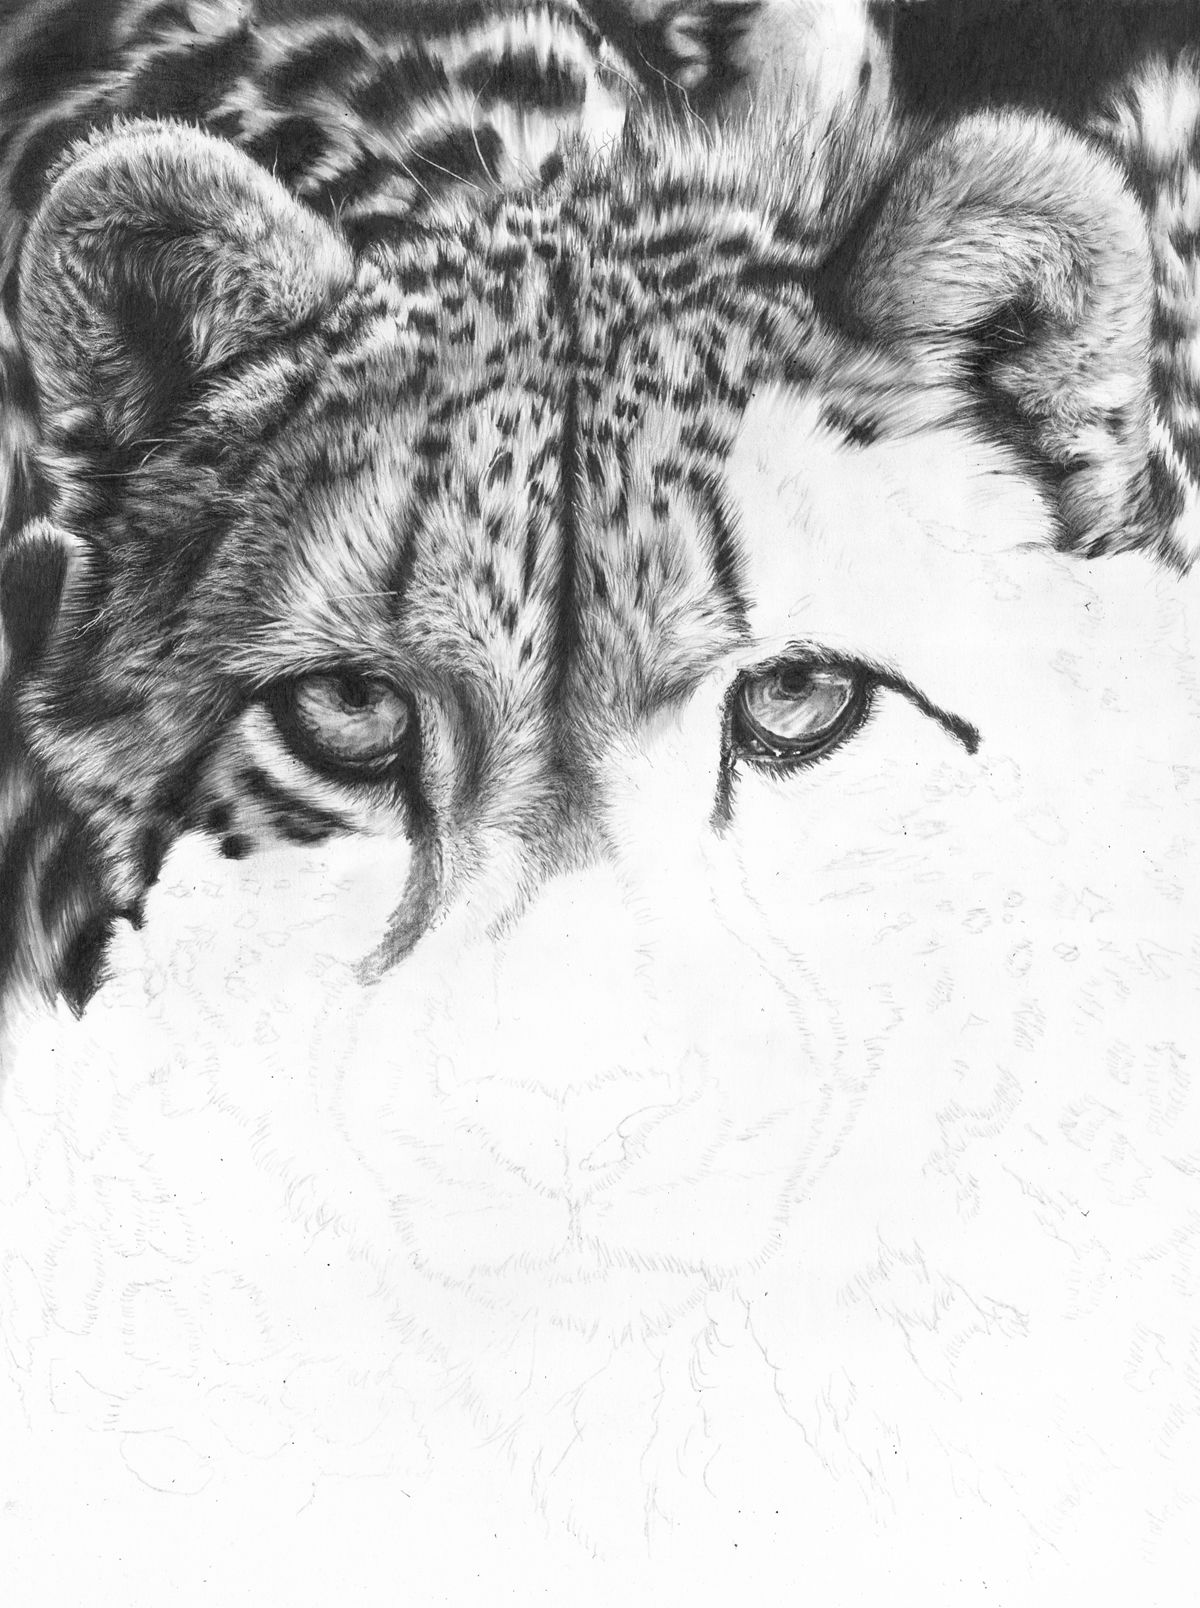
The above photo was taken after two sessions. I tend to work for about four hours maximum per session, sometimes less depending on time constraints. I think four hours is about the limit for my poor, almost 70 year old hands and eyes. The area I've done looks to be in a finished state, but I do tend to go over the same areas several times as the drawing progresses, refining and altering as I see fit. Then there will be a final pass over the entire drawing at the end before I can call it finished and add my signature.
I began with the fur on the left ear, using my hardest pencil sharpened to a good point, taking care to draw in the exact direction of the hairs. This stage pre-textures the paper with a faint fur effect before I progress through the grades of lead, working up the depth of fur before finishing with the richest darks for the actual earhole.
For the area behind the cheetah's neck I've drawn slightly more loosely, going straight in with the softer pencils for the spots before blending the edges with my tortillons (tightly rolled up pieces of paper) colour shapers (nylon tipped brush handles) and small scraps of soft cloth. Where I've lightly shaded between the dark markings, I've stroked over with a sharply pointed eraser to pick out the light on the fur. For this I use one of my Tombow refillable eraser pens which are brilliant tools, along with my equally essential electric eraser which also has various sizes refills.
The blended areas look slightly out of focus, much like the background of a photograph which helps to give extra depth to the composition.
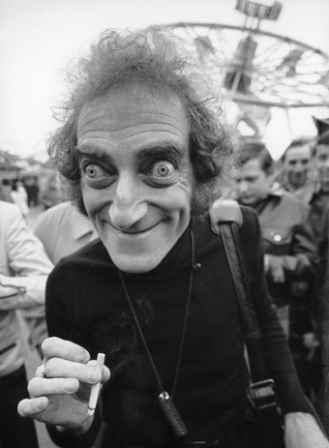
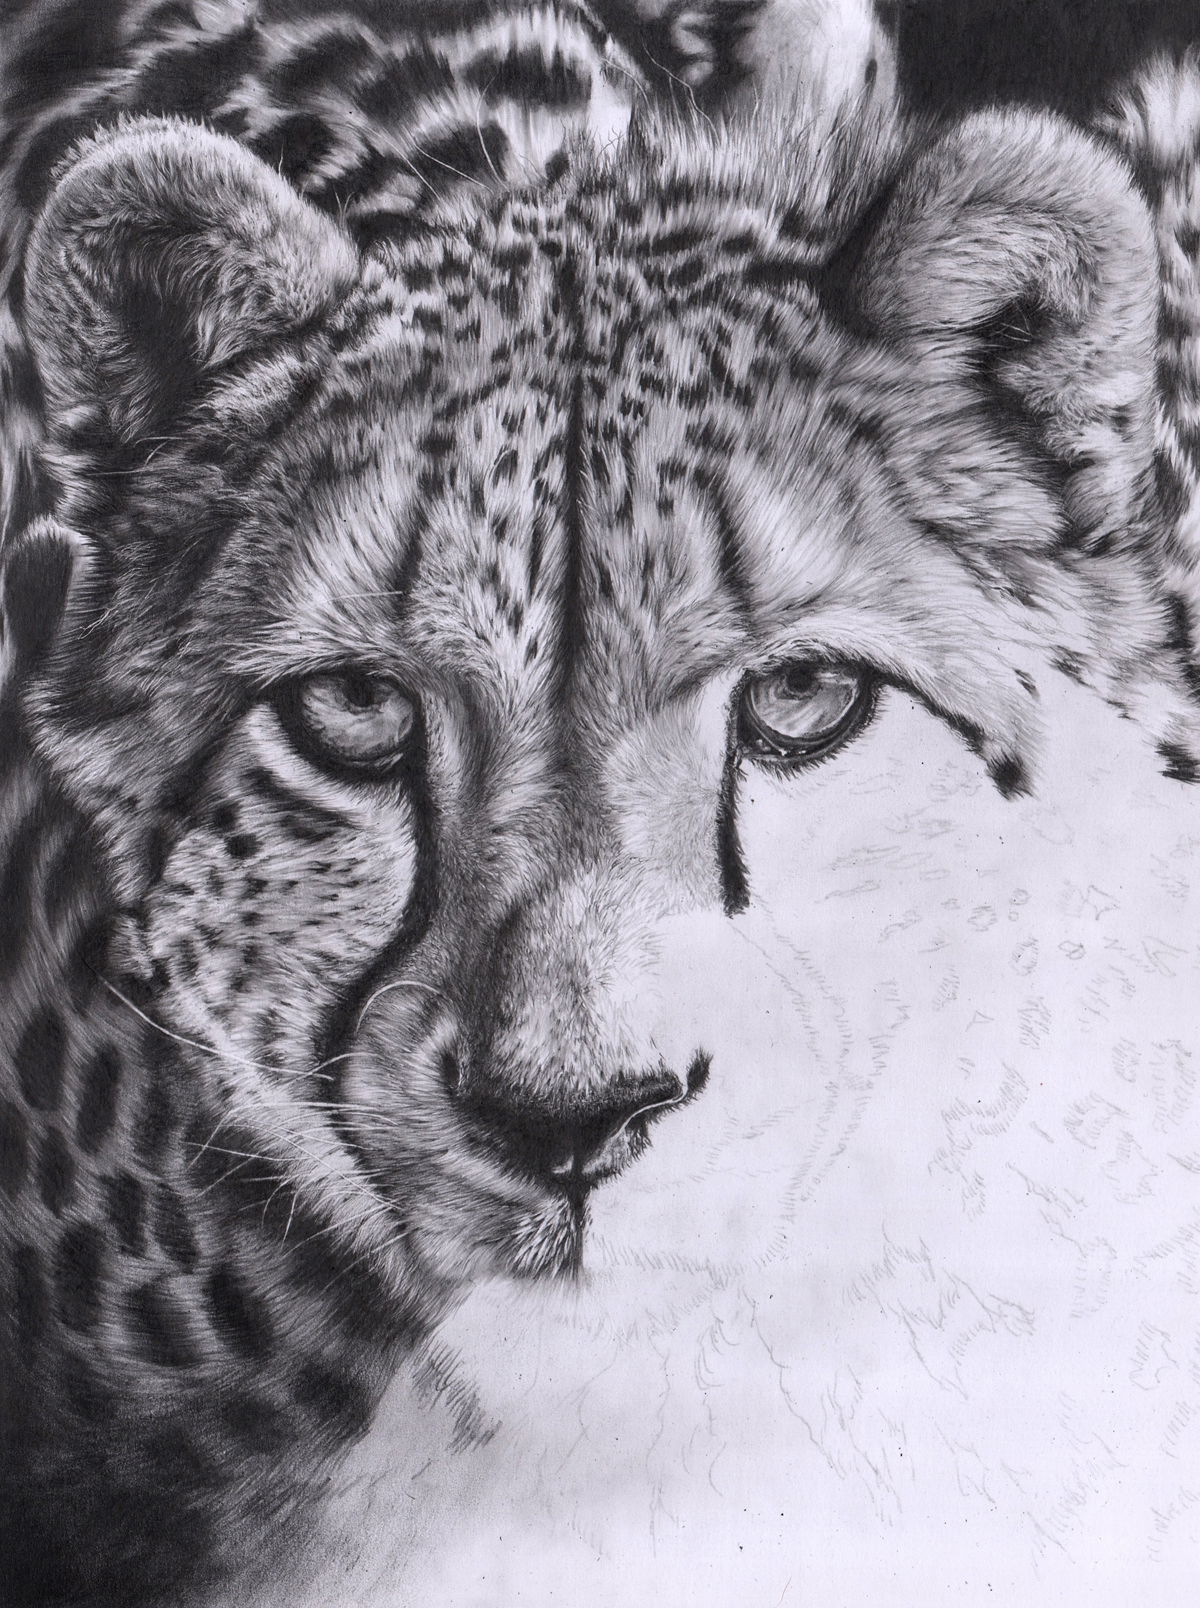
Below you can see a little more progress. It doesn't look a lot but the second eye always requires significant time and attention. There is nothing worse than mismatched eyes in the wrong place, at odd angles or incorrect size. The slightest fraction of an inch can make a lot of difference. I see it a lot. Beautifully rendered pet portraits drawn or painted with obvious loving care, only to be ruined by squinty eyes, like a tribute to Marty Feldman (younger readers may need to google him)
It's difficult to see your own mistakes as you get too deeply immersed, so looking at your drawing in a mirror is a useful tip at this stage. It's like looking at it for the first time and any slight errors seem to be magnified.
The sharp eyed will notice that I have taken out the hint of grasses from the top right corner. I didn't like it. There were to be more grasses at the bottom too, but in my view it would have spoiled the composition.
The next image shows quite a lot more area covered and I've begun to consider the lighting more, darkening some already completed areas and lightening others.
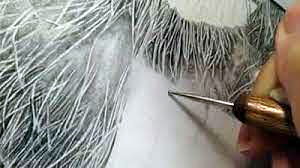
I've put in some whiskers and wayward hairs on the left side of the face too. These are achieved with various tools to indent the paper before drawing over with a soft grade pencil. I have quite a collection of things I use ranging from a blunted and polished brass wood screw, to all sorts of etching tools, darning needles and of course my trusty stylus (one pictured below). Anything can be used really, as long as it isn't sharp or rough enough to damage the paper surface.
On the cheetah's muzzle I've also pre-textured the paper surface slightly by stippling, to give the impression of short stubble, particularly where it joins with the nostrils. On the right hand nostril edge I've left a rim of light showing through which wasn't in the reference picture. I think these small touches of detail are so important when striving for realism.
At this stage, before final completion, you can see the work I've put in under the chin and neck area. I always find areas like this the most difficult, where the fur has several layers with multiple changes of direction. It would be easy to overdo the indentation which would spoil things as the fur here is longer and softer. So it's a case of lots of patience and careful use of erasers and blending with colour shapers.

The final stage of my creation is the framing. I make my own frames in my garden workshop (shed) using some ancient, heavy duty framing equipment that I acquired many years ago during a previous life. I don't stock many choices of frame moulding as I only frame for myself and it wouldn't be cost effective for me to have dozens of different ones. So for my drawings I tend to use plain brushed silver or pewter frames, with a white mount and use 2mm float glass with corrugated backing board. I only charge cost price for my frames so my customers can always take their acquisition down to their local high street and have it redone if not to their taste, but I think it makes a difference for them to be able to unpack and hang it straight on the wall.
I hope readers have found this insight into my process interesting, maybe even useful. If so, comments are aways welcome. Meanwhile I'm hoping to begin another original drawing tomorrow...... perhaps a portrait of Marty Feldman?